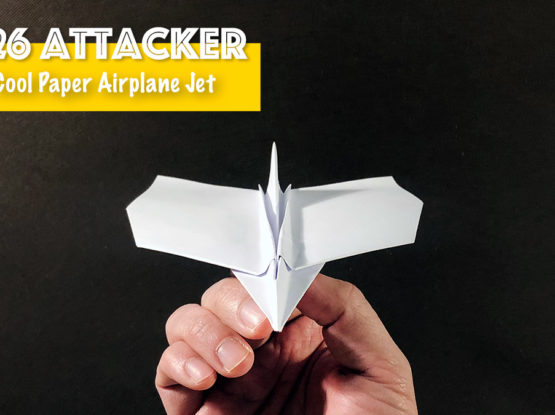
The Bat Fighter is one of a kind jet paper airplane that actually flies and glides well. The design is based on the Bat Wing paper airplane, the paper airplane that flaps its wings. It’s a speedy paper airplane so don’t just toss it in the air, throw it and see it zoom away!
*A quick tip for throwing, hold the paper airplane with the wings parallel to the ground. The way this paper airplane is designed, the end of the fuselage should be held inside your palm.
**The paper airplane holds together well, however, as the paper get older, the nose of the paper airplane easily separates from the wings. Adding some scotch tape with resolve this.
Difficulty Level: Medium.
Time: 4-5 minutes.
TIP: If you have not watch my video on how to make a perfect paper airplane fold, click on the link and watch it now. Make sure you use this technique every time you fold a paper airplane.
Step 1: Fold the paper in half along its width and then unfold. Step 2: Fold both corners up and align with the center line created in step 1. Step 3: Fold the sides up again and align with the center line created in step 1. Step 4: Fold the nose of the paper airplane and align the tip with the other end of the paper. Step 5: Unfold step 4. Step 6: Make a fold that starts at the crease created in step 4 (unfolded in step 5) that extends to the end of the paper. See step 7 to get a better understanding of this fold. Step 7: Unfold step 6. Step 8: Fold both wings so the inside edges align with the creases made in step 6.Step 9: Fold step 4 again. Step 10: Turn the paper around. Fold the nose of the paper airplane back up toward the front of the paper airplane. See step 10a for where this fold is made. Step 10a: See black arrow.Step 11: We’re getting close, fold the paper airplane in half and prepare to fold the wings. Please make sure the wings are perfectly matching. Step 12: Fold the wings along the nose of the paper airplane, it’s folded at around a 40 degree angle. Step 13: Fold both wings in the same manner. Step 14: Fold the stabilizers parallel to how the wings are folded. Step 15: You’re done! Make sure the wings are tilted slightly upwards and that you roll the end of the wings slightly upwards to give it more lift (the bat fighter has a heavy nose).